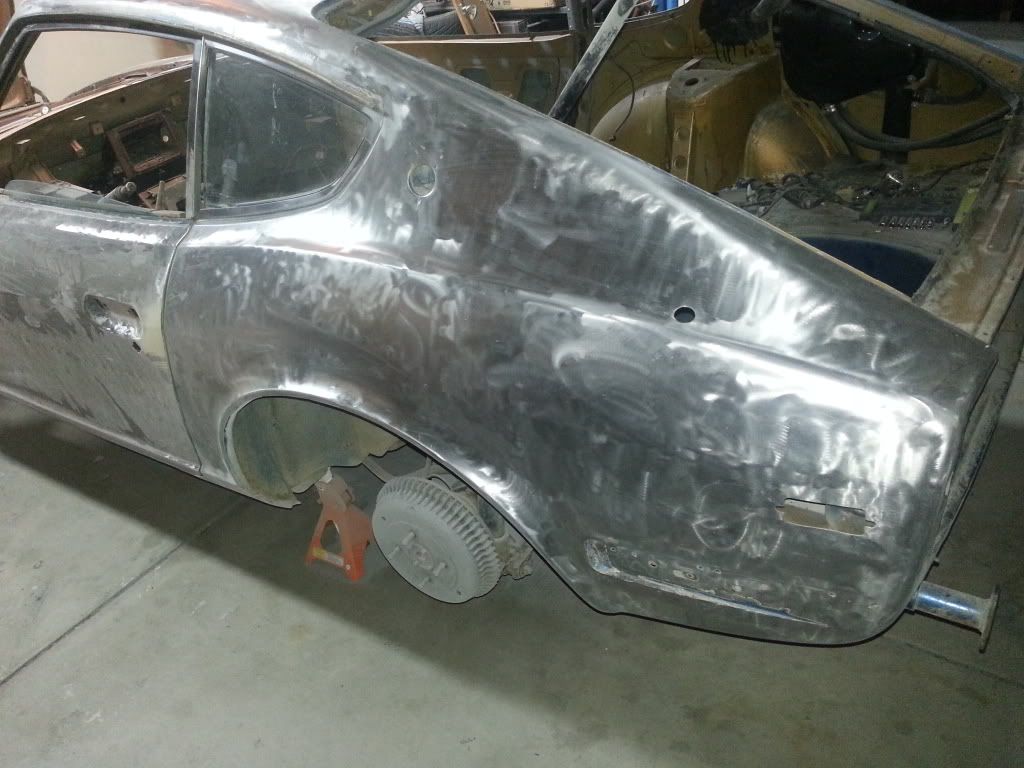
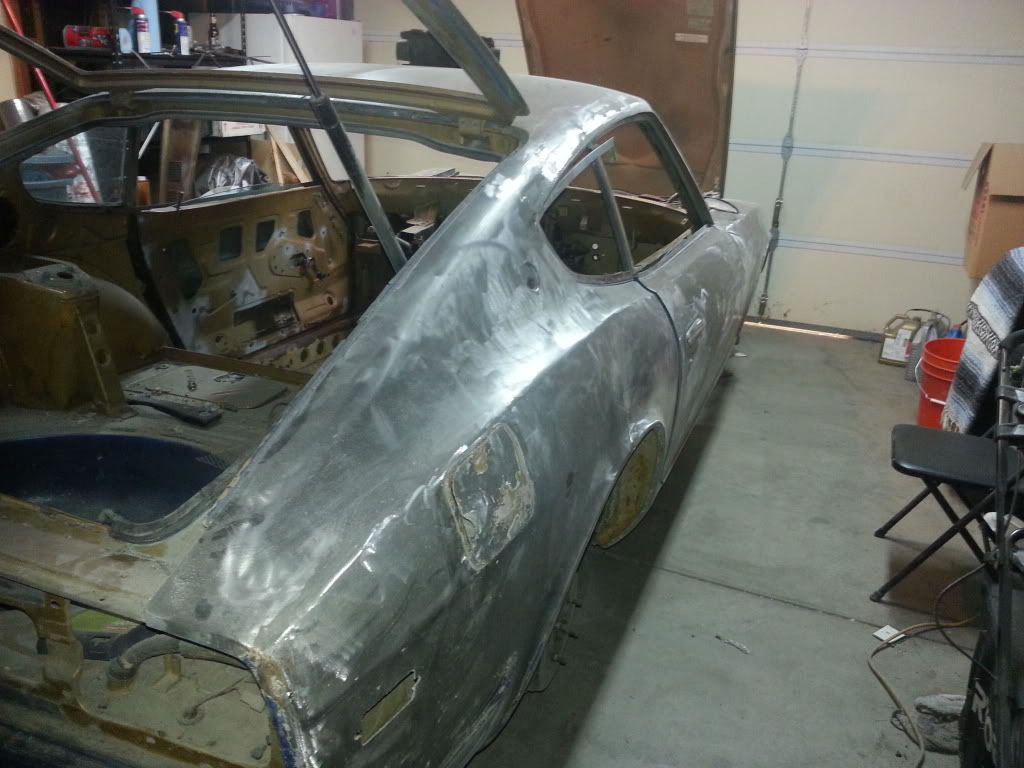
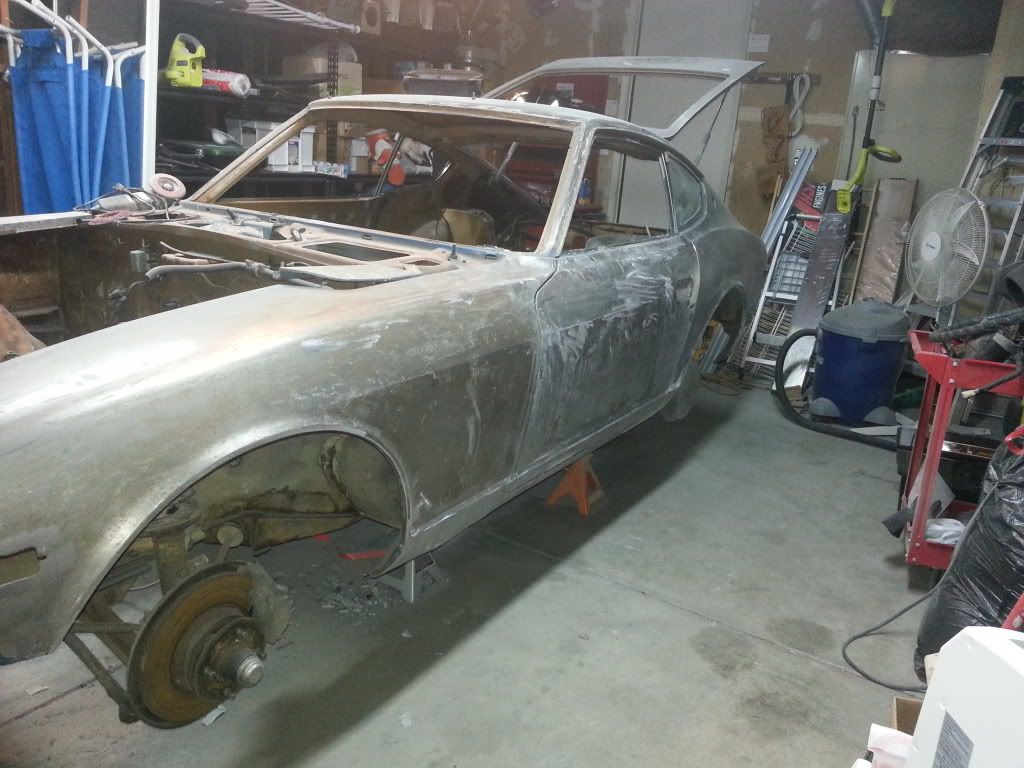
Look. I know it's been a while. In the last two months I've judged TWO car shows, built a nursery, quit my job, got a new job and yet I still found a little time here and there to get the car to about 90% bare metal.
The Blue isn't the top coat of paint, there's a blue cot on the wall that is giving some reflection.
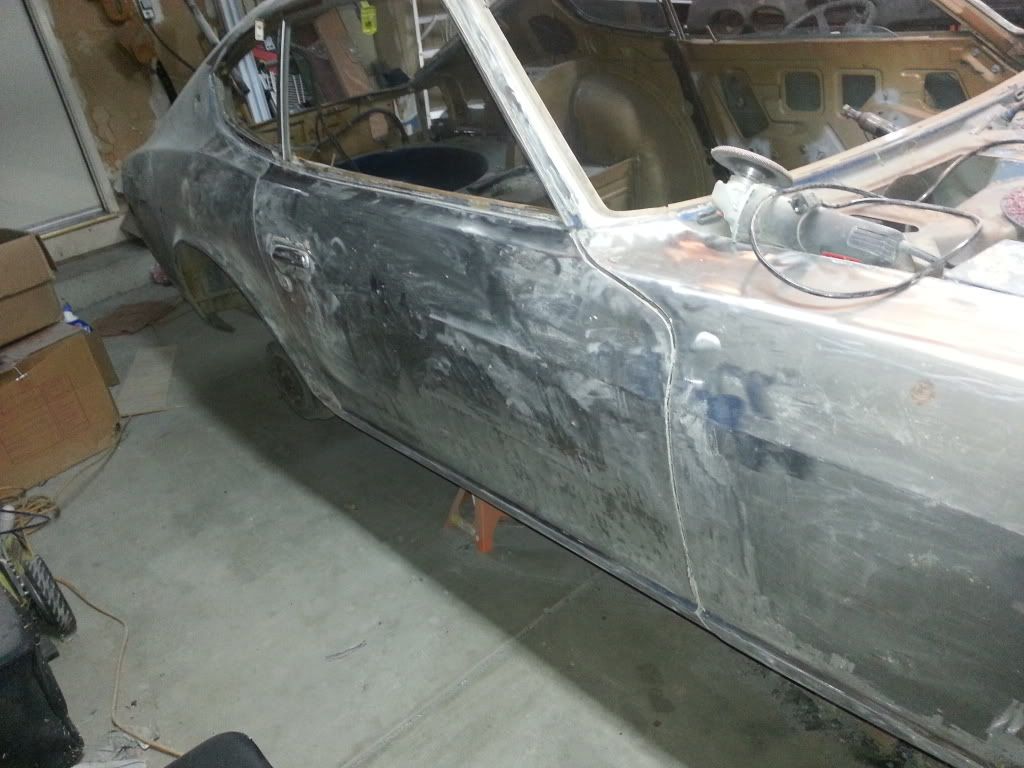
So, where are we? What's left? Lots, but just to get primer down we need to
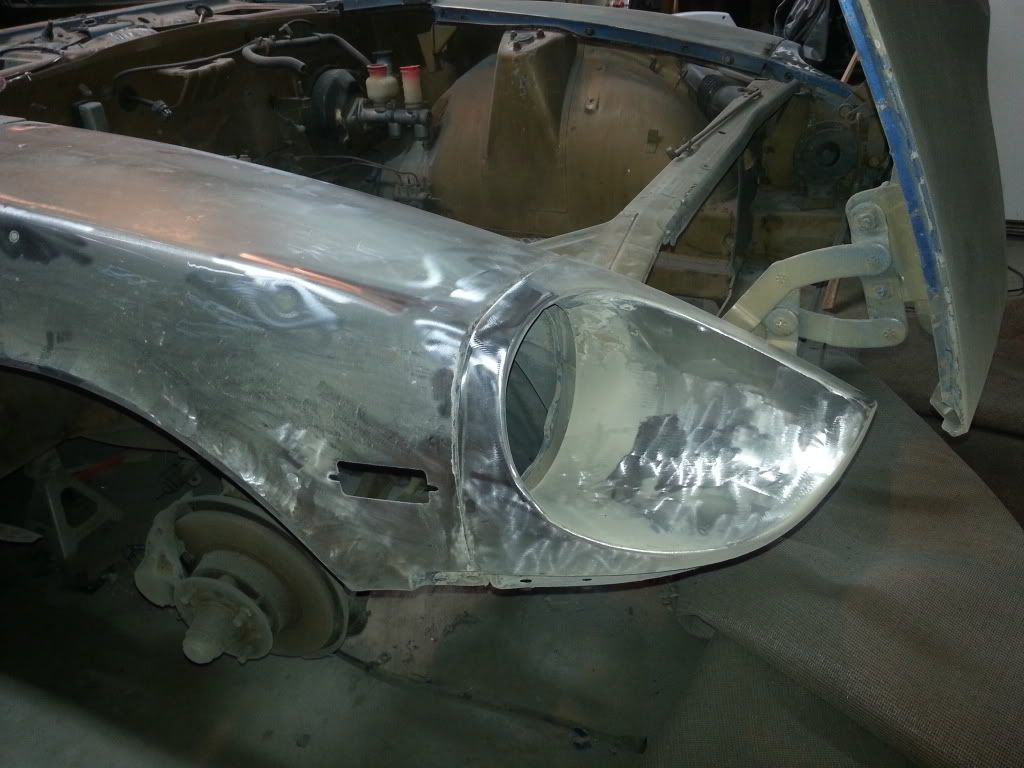
- Remove the inspection lids (the hinged lids next to the hood). They are warped beyond repair. Going to replace them, maybe with louvered lids to help expel the under hood heat.
- Finish grindering the rear of vehicle.
- Weld the hole shut in the passenger front wheel well.
- Drill out the rusted screws that are keeping the quarter panel windows and trim in.
- Strip the engine bay. All that's left is a few electrical relays/modules and the brake hydraulics.
- Remove the window wiper motor and tracks.
- Mask/tape off the chrome window trim.
- Drop the gas tank to remove the safety bumper supports. Patch the holes in the rear shut.
- Get a front spoiler and wing.
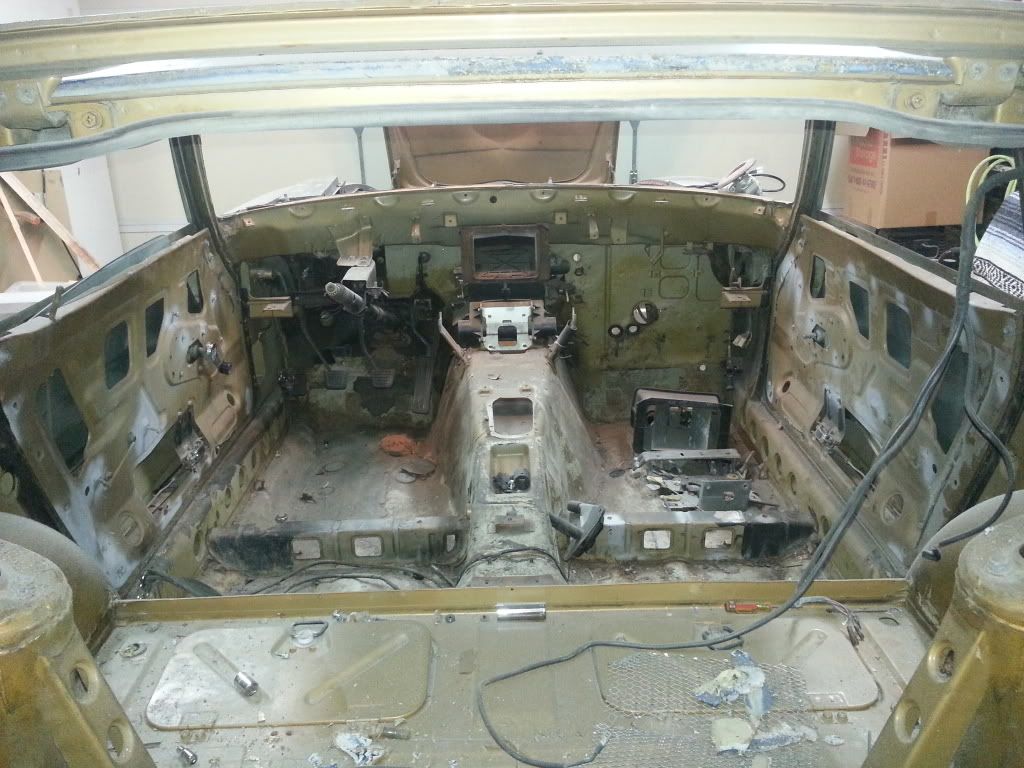
For the interior we have a smaller list.
- Remove that rusted out heater system.
- Remove the last few relays and vents from the passenger firewall area.
- Remove the last bit of electrical wiring from the back.
- Scrape what is left of the headliner padding off the roof.
Once the primer is down, it's sand, sand, sand and more sanding. Multiple coats of primer and sanding.
You'll notice that cutting and fitting flares not on the list. A shift in thinking for this project. No more classy street driven race car. I'll get into it later, but this car will be driven on a more regular basis than originally thought. That means no rotary that needs constant care and rebuilding. Turbocharged Inline 6 power inbound, once the bodywork is done of course.