Wednesday, June 26, 2013

Body: Update, paint stripping!

Oh man. Game changer. So it took me an hour to do half the roof.. I did this tonight.


That's the other half of the hood. I did this in about 30 minutes. Not done, but damn close. How'd I do it?

With this.


You let this super stripper gel soak on the surface for 15 minutes and the paint starts to do this.


Then, this.


It bubbles and lifts off the surface. It pulled a base primer, factory paint, aftermarket primer and aftermarket paint up. By separating the primer from the bare metal it makes it possible to pull the paint off in strips with a scraper.

This will speed up the stripping process big time. Now instead of grinding on the entire body I can simply grind in a few small touch up sections.

Tuesday, June 18, 2013

Engines: 13b Rotary. No really!

Sorry for the long gap. New job, summer heat, sisters wedding, blah blah blah. I'm back for a little while.

While I was off, I kept thinking about engines. Yes, the RB25det will be a great choice. We have a crossmember and everything.

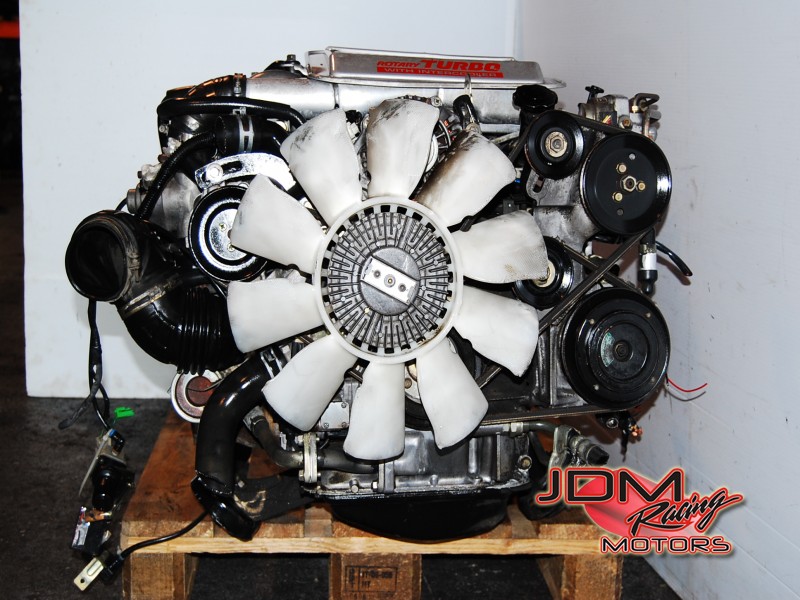
But then I saw this.


So, when I first thought about a rotary I thought about the two really big dogs. The Twin Turbo 13b-REW and the 20b-REW Three rotor. I forgot all about the TurboII RX-7 that had a single turbo 13b-RE making about 200hp. What interests me is those engine mount brackets. See how they angle diagonally. Very similar to the crossmember for the RB25det I have.


With a little bit of work, it might be very possible to put a 13b in our chassis. The 13b is a very desirable choice due to it's low size and weight with big power potential. A fully dressed turbo 13b with transmission should weigh in around 400-450lbs.

Why a 13b? Is it any good?

Very good. A healthy 13b Turbo with a proper setup can put 300-350 wheel horsepower down with lower boost numbers thanks to the unique way the rotary engine spins. The also sound amazing. Plus there's only three moving parts.


Listen to this sound.


So, there's still some measurements to make to see if my theory is right.

Sunday, May 19, 2013

Slow progress is still progress.

So turns out I can't use a grinder for more than 30-45 minutes before my hands give out from vibration. The left rear quarter panel and half the roof are bare metal.

More grinding to go. I did find more body filler in the roof which is odd. Means more body work that will be needed after primering

Tuesday, April 30, 2013

Progress.

Not much to report. More grinding. Left quarter-panel is bare steel. Still need to hit the right quarter-panel and the roof. Should get more time this weekend to make some magic happen.

Still to do.

Grind quarter-panels to bare steel.

Remove weather stripping and grind tail panel to bare metal.

Grind roof to bare steel

Remove glass and weather stripping from hatch and grind to bare metal.

Remove weatherstripping and grind door jambs to bare metal.

Strip doors, fenders, hood and headlight buckets to bare metal.

Strip engine bay of wires and unnecessary components and prep for paint.

Dry ice interior and remove sound proofing.

Weld in patches to cure rust.

Fabricate new inner wheel well liner.

Modify body for flares.

Acquire front air dam and rear spoiler

This all has to be done before the paint process can start. I'll cross things off as we go.

Monday, April 22, 2013

Spark's.


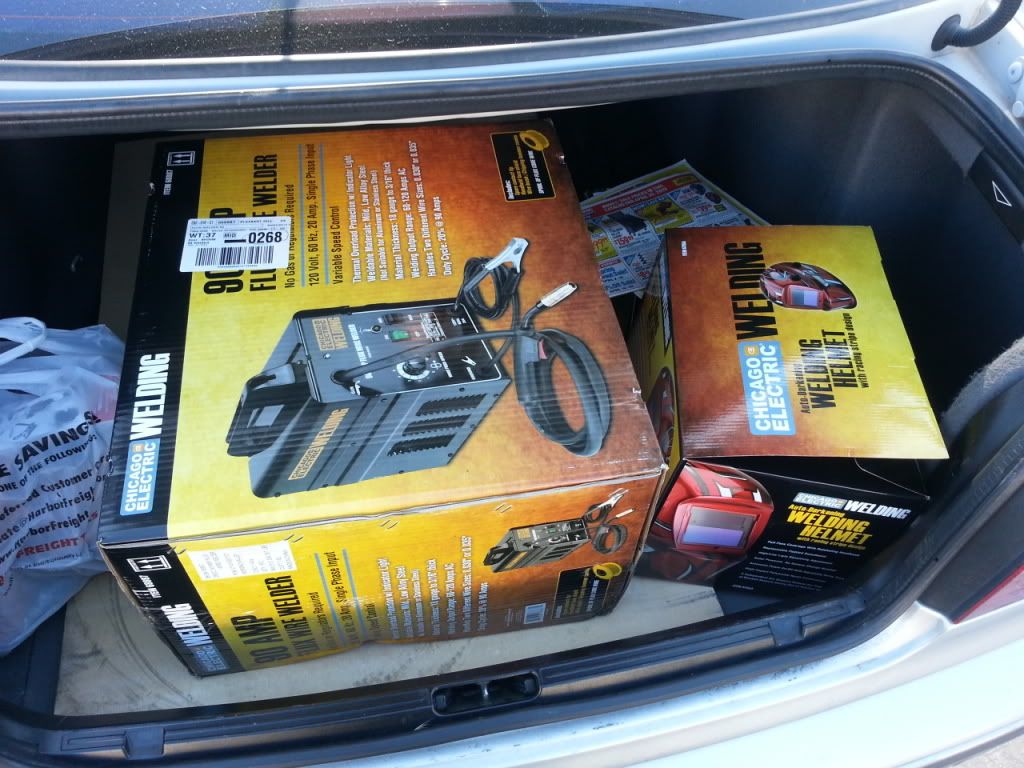
So, I bought a welder. Now there's no stopping till we're ready to primer. We should be able to prep and repair rust. Looking to make some serious progress this weekend.

Wednesday, April 17, 2013

Body: How this is going to go.

I thought with us starting to strip our body down, now would be a good time to lay the process out so that we make sure not to forget anything.

Step 1. Strip our chassis down to bare metal. This includes the interior. Step one is the longest step. The interior needs to be dry-iced. All paint and body filler needs to be stripped. The engine bay needs to be stripped of all the now unnecessary lines and hoses.

Step 2. Welding. Repair the holes in the floor boards. Plug the antenna hole. Fix the fender liner and remove the battery tray. Weld shut any holes in the firewall that are no longer needed. Fix the seat brackets.

Step 3. Repair any major dents as best as possible. If we can't make it perfect, we'll use body filler to make it smooth later.

Step 4. Remove hood. Remove fenders. Remove front lower valances and grill. Remove doors. Remove hatch. If any of those parts are damaged beyond repair, replace with fiberglass if possible.

Step 5. Clean metal with acid. Lay down 1-2 coats of rust encapsulating etching primer. This will adhere to the bare metal. The interior will get a rust encapsulation primer as well, but a much thicker coating to help with noise.

Step 6. Body filler for any dents that weren't made perfect during step 3. Body filler will adhere better to the primer.

Step 7. 1 more coat of primer over the car over the body filler. Maybe 2 if needed.

Step 8a. Light sand the primer and lay down color. All door jambs, interior under the carpet and the engine bay will all be the same color.

Step 8b. Light sand and color again. Depending on the paint and the color we will have to sand between coats and we might need a clear coat.

Step 9. Reinstall painted fenders, doors, hood and hatch.

That's pretty much it. Interior can then go together, and assembling the engine bay is it's own ball of work.

Sunday, April 14, 2013

Body: Progress is the sound of a grinder.

First things first, we built an engine stand.


Rated to 1000lbs, this stand will hold any engine we can mount on it.

Short story, watch this.


For more about, what we did read on.

We got to our first day of working on the car. After stripping emblems and light fixtures, my trusty assistant got to work removing the taillight panels.


The end product of her hard work?


No hidden rust in our taillight panel.

After about an hour of grinding we were at a stop. We made some good progress though.

Right side.


Left side.


Unfortunately, we did find some not so great things on the left side.

See that white on the border of the paint? That's body filler. The sheet metal is dimpled. It's hard to see in pictures and in the video, but it's there.